1. Cable network
2. Crimping tool
3. Cutter
4. Network tester
5. RJ45
STEP 1
Make sure how long you need for the cable. Example if the distance is 10 meters, cut the network cable to 11 meters. We need more because if you make mistake we can do it again with same cable.
STEP 2
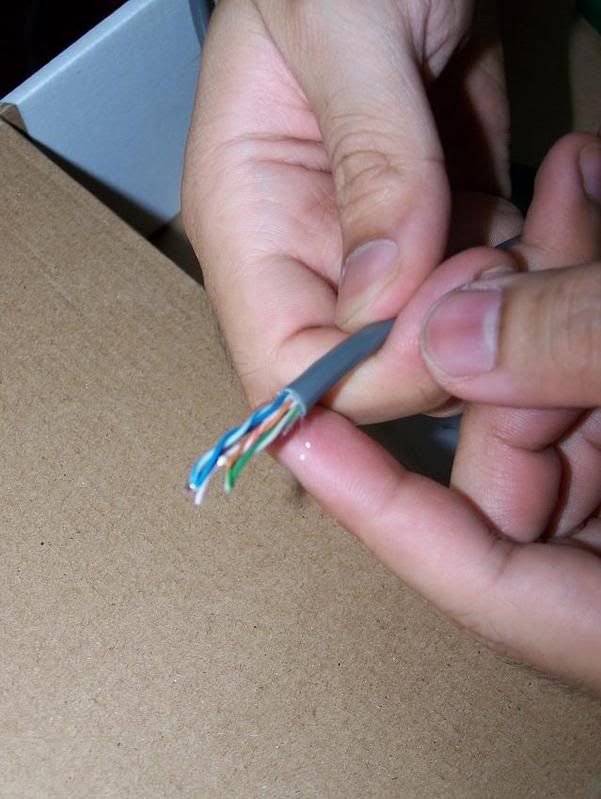
Cut & remove cover of network cable. Remove it around 2cm
After remove, it's will look like this
STEP 3
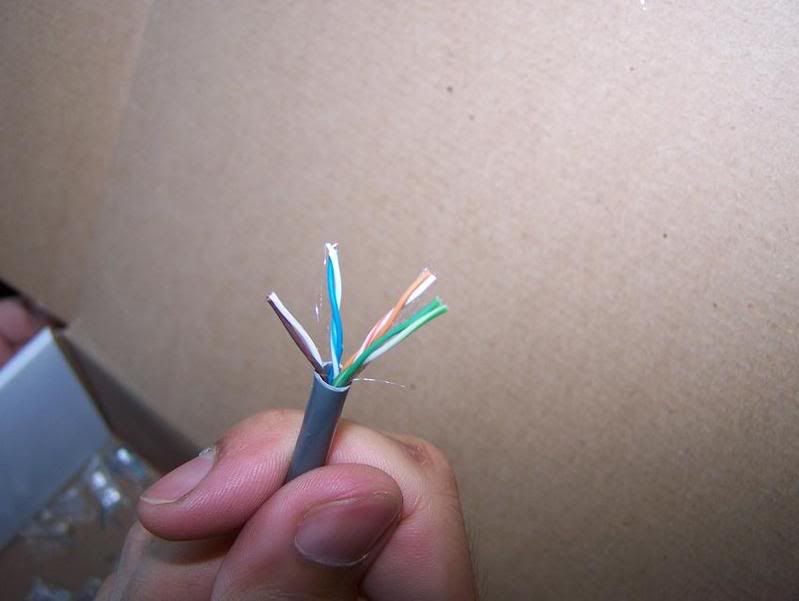 Make cable look like this (see the picture)
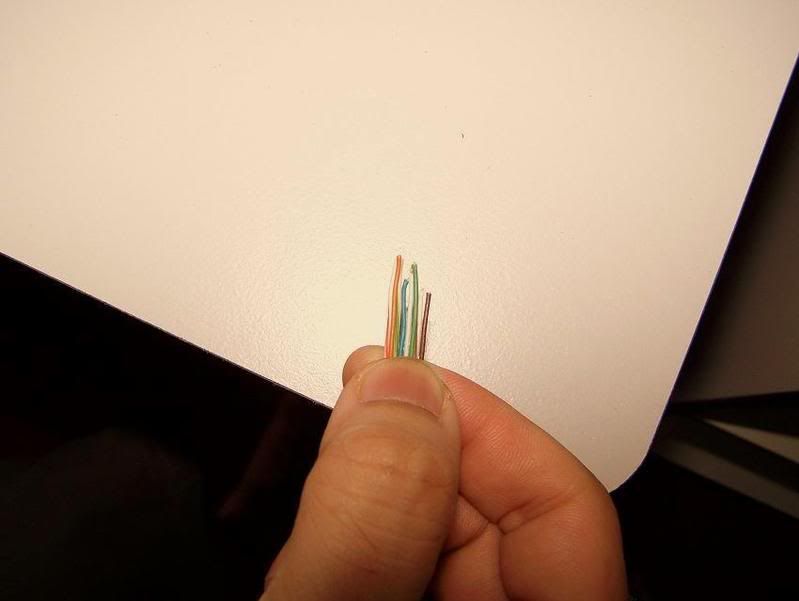 As picture show, some is short and some is not
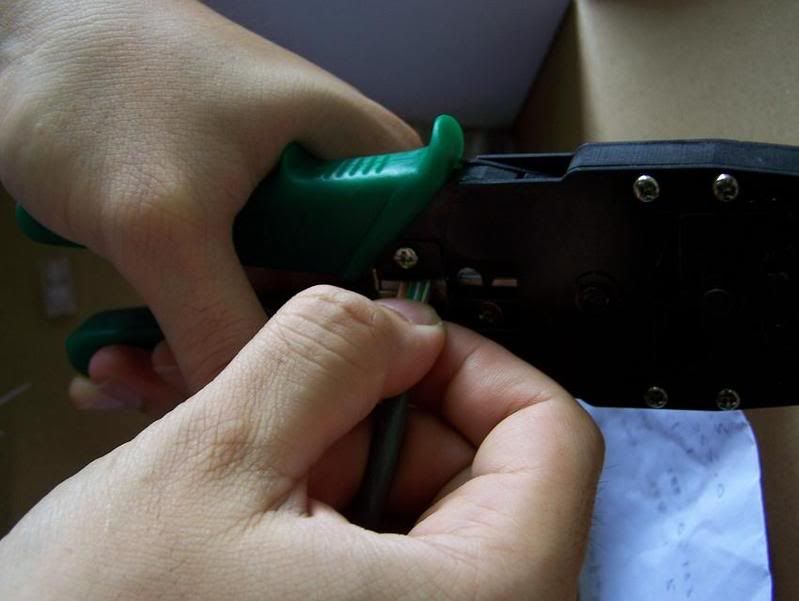 Cut the edge of cable and make it same.
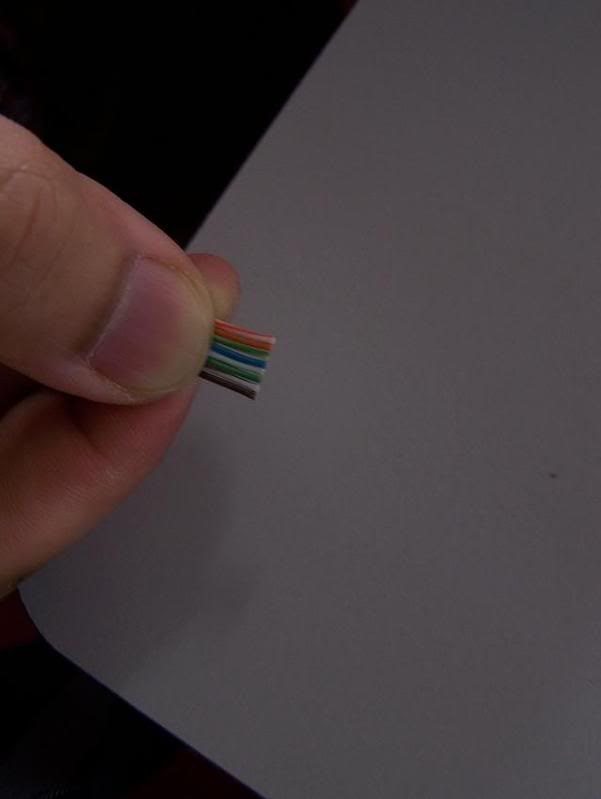 This is the result
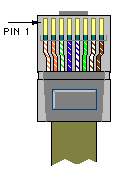 Manage the all color cable same as note above. Don't make mistake in this stage
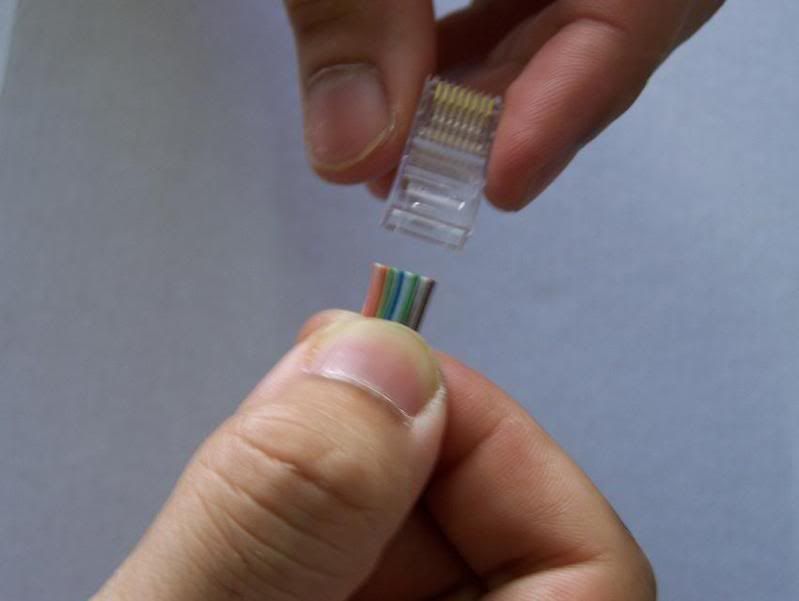 Put in RJ45 soket after you make sure it's manage as diagram above
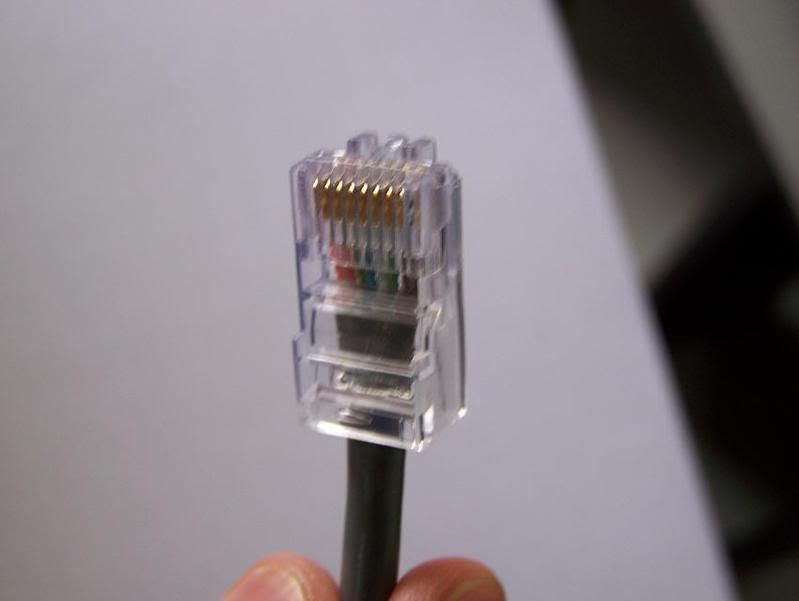 1 small slot for 1 small cable only, so please careful on this step
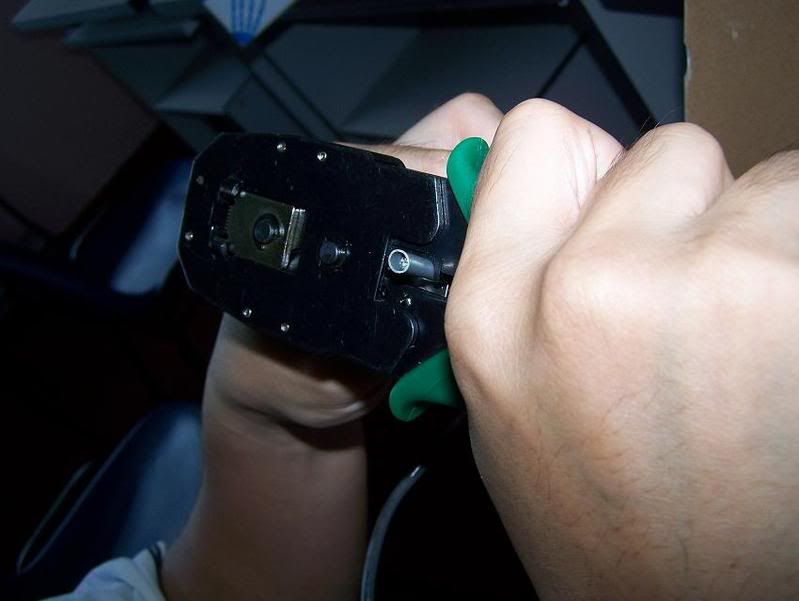
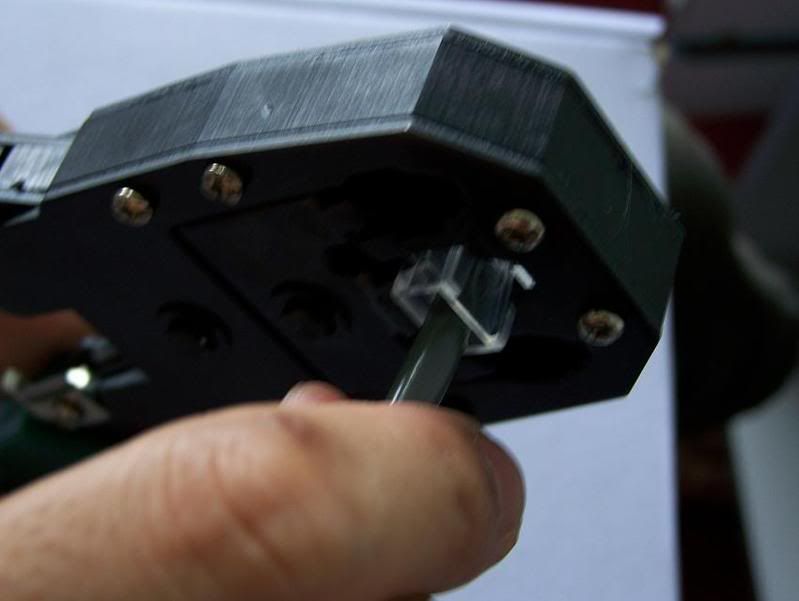 Put it into crimping tool and crimp it harder.
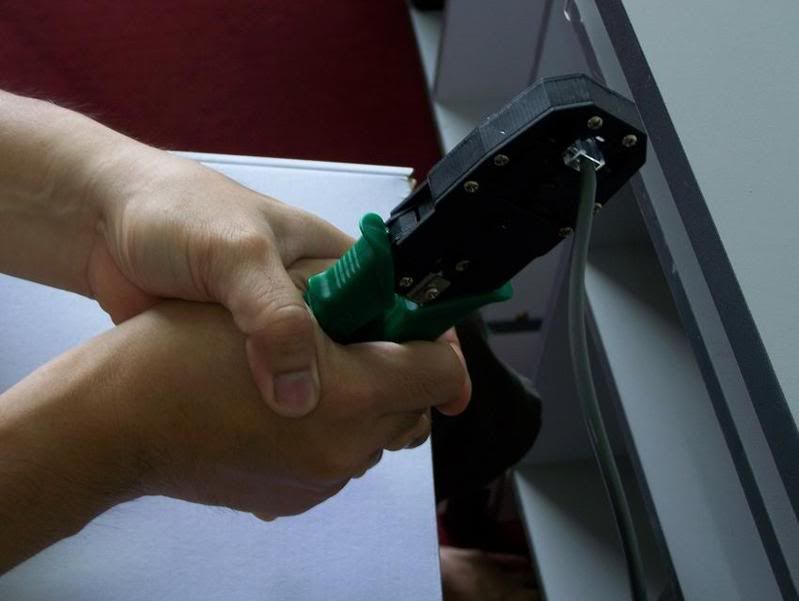 See picture above
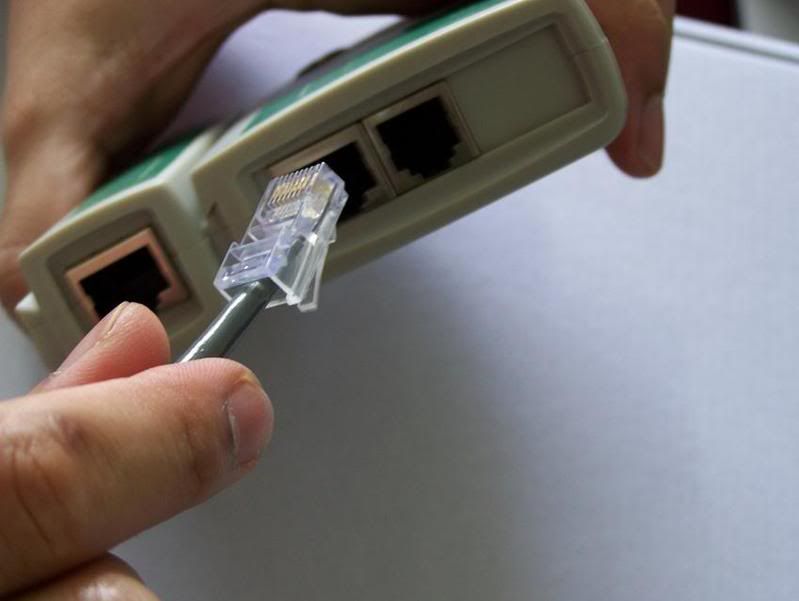 After finish both side, put it in tester
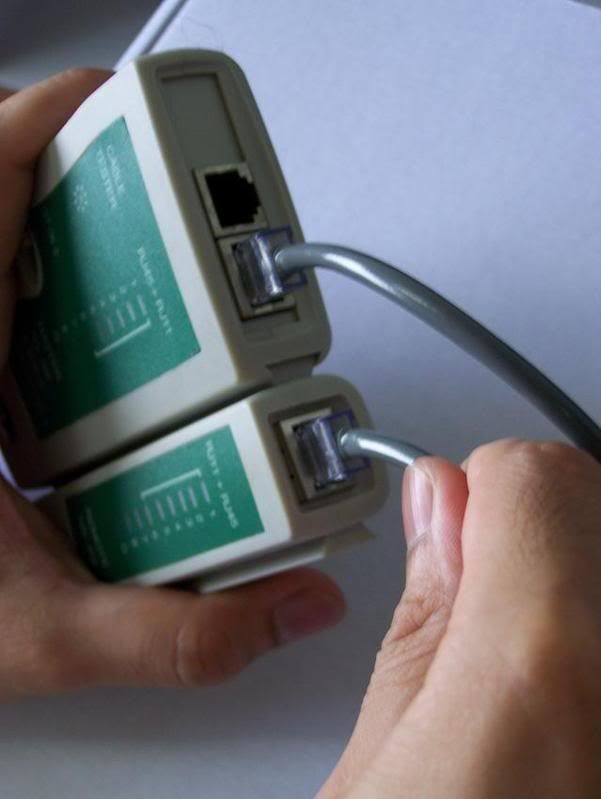 The other side also put it in tester
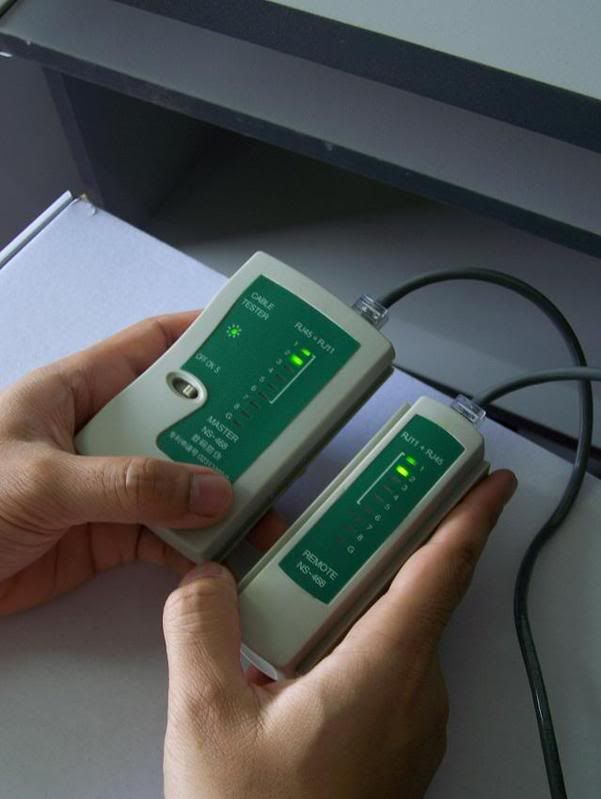 Switch on the tester.
If the green lights on from number 1 to 7, thats mean successful.
If the lights on looping number or others number light is not come out,
thats mean you make mistake
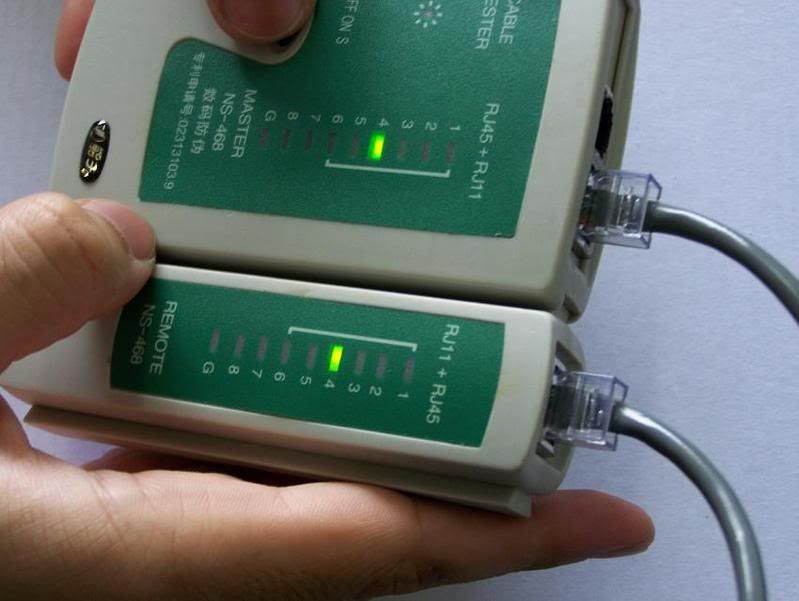 If lights not on from 1 to 7, identify which side have problem and then cut it off
and repeat step2 until it's working properly
 Make cable look like this (see the picture)
 As picture show, some is short and some is not
 Cut the edge of cable and make it same.
 This is the result
 Manage the all color cable same as note above. Don't make mistake in this stage
 Put in RJ45 soket after you make sure it's manage as diagram above
 1 small slot for 1 small cable only, so please careful on this step
 Put it into crimping tool and crimp it harder.
 See picture above
 After finish both side, put it in tester
 The other side also put it in tester
 Switch on the tester.
If the green lights on from number 1 to 7, thats mean successful.
If the lights on looping number or others number light is not come out,
thats mean you make mistake
 If lights not on from 1 to 7, identify which side have problem and then cut it off
and repeat step2 until it's working properly

No comments:
Post a Comment